I'm also proud to say that I used absolutely no tutorial to guide me on this one. I simply used all of the new tools and tips I have learned from previous tutorials and combined them all together. I also got to experiment with the gradient mesh tool, which I hadn't used prior to my avatar creation.
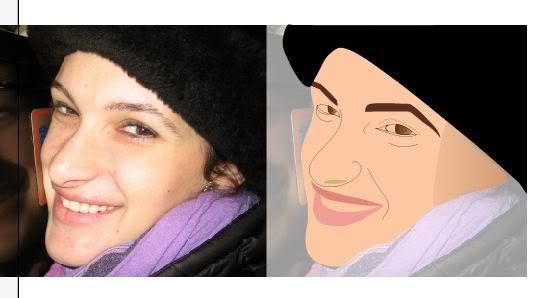
Here is a picture of the work in progress (the final is at the end).

I began with the picture (shown above) and made it the bottom most layer and knocked down the opacity to about 30%. Every other layer I broke up into different parts of the face. The Illustrator layers aren't as "in your face" as Photoshop layers, so I have overlooked these in previous projects. This time I was diligent and organized.
Secondly, I started with all of the basic shapes and predominant lines (wrinkles) of the face. I initially started using black stroke and a generic skin tone and as the piece started coming together I began playing with the colors.
The eyes were the trickiest bit for me especially the lashes! I have redone my eyes since the "in progress" to the "final picture" see if you can spot the differences. The first set of lashes looked nice, but when I put them on my avatar I looked like a drag queen. My lashes are naturally short and thin, so I used the pencil tool to draw a straight line and used the handles to curve them a bit. I copied and pasted and changed the angle over and over - and rescaled and then finally made them all into one group.
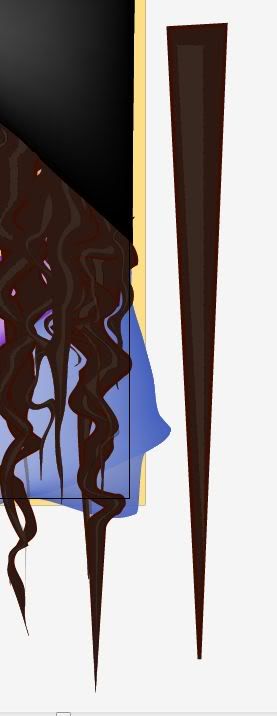
The hair was the easiest part. I started by making some isosceles triangles with the polygon tool. The largest one was the main color of my hair and the smaller one is for highlights and the stroke of the largest triangle is for some natural red tones in my hair.

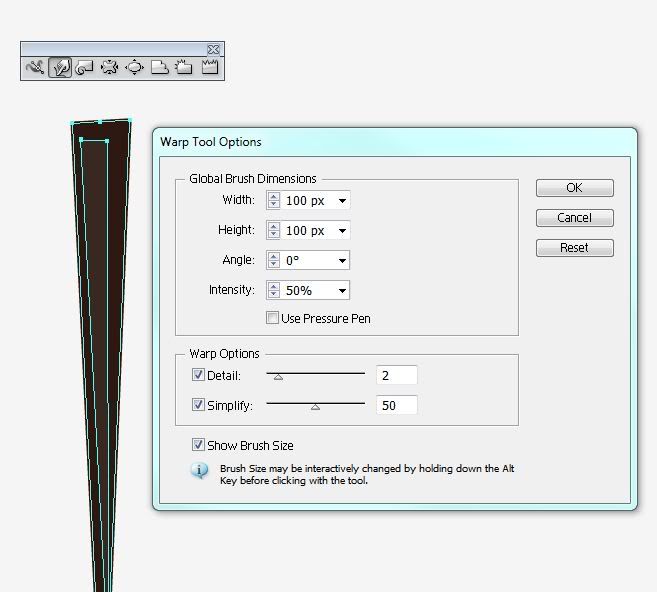
Next I used the warp tool to create my naturally wavy hair. Definitely play around the with the warp tool settings.

You can either copy the triangle of hair and resize different ones and place them then use the warp tool or just use the warp tool on one and then copy and place those. It's a more natural look to do them individually but you also have less control.

....and voila! My first avatar!

No comments:
Post a Comment